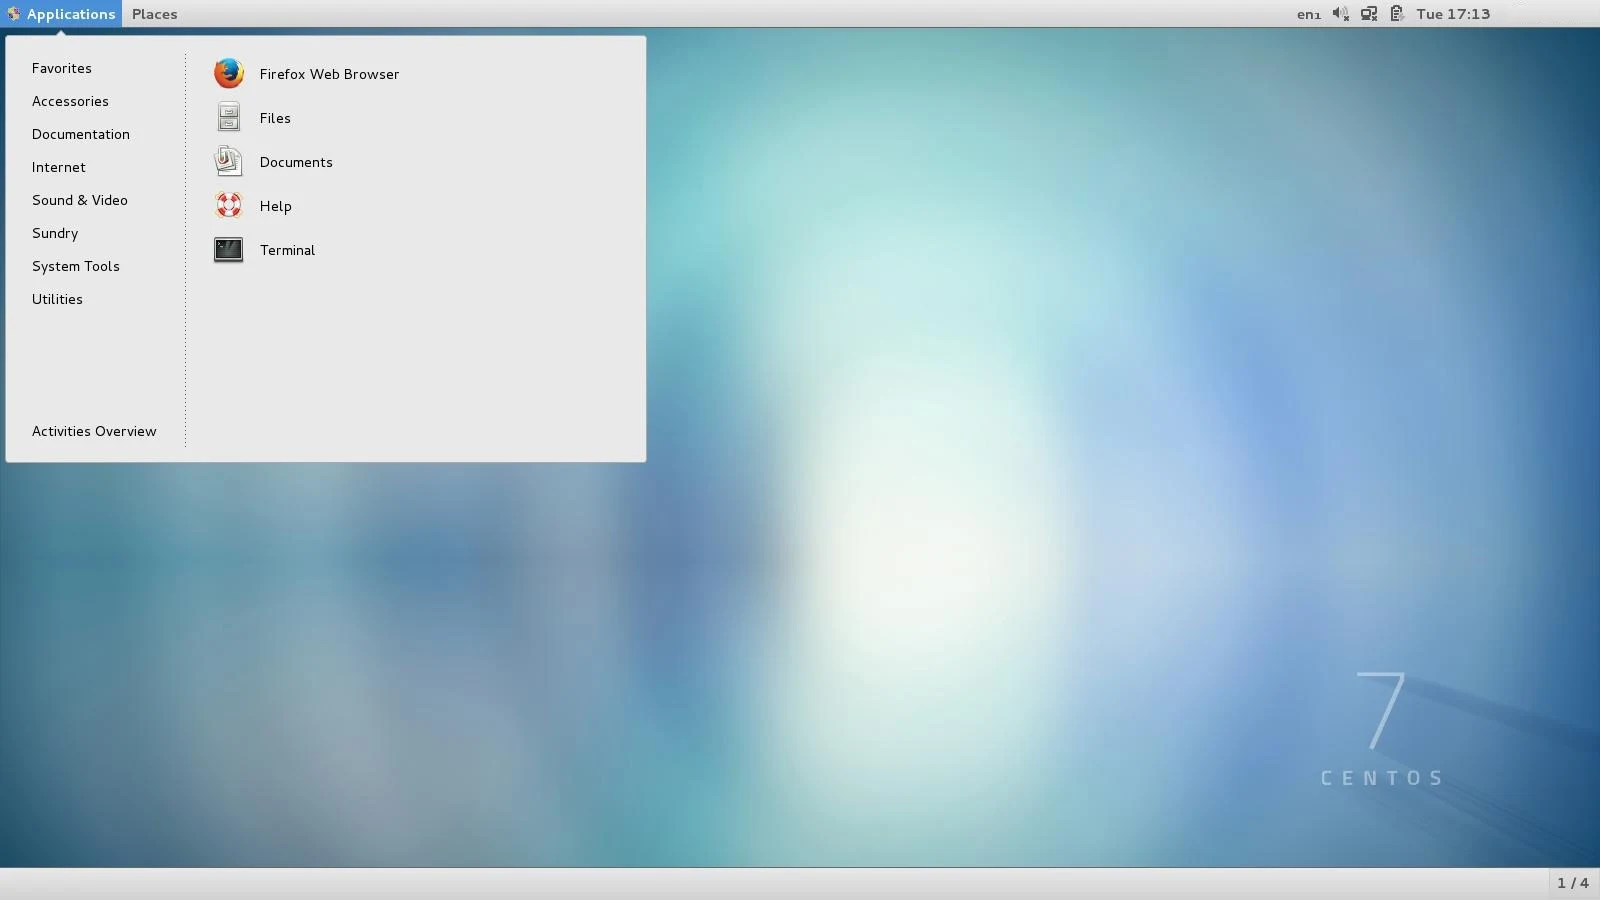
This post will guide you with Installation of CentOS 7 Step by Step Procedure with Screenshots.
If you are interested in learning, Request you to go through the below recommended tutorial.
DevOps Full Course Tutorial for Beginners - DevOps Free Training Online
Docker Full Course Tutorial for Beginners - Docker Free Training Online
Kubernetes Full Course Tutorial for Beginners - Kubernetes Free Training Online
Ansible Full Course Tutorial for Beginners - Ansible Free Training Online
Openstack Full Course Tutorial for Beginners - Openstack Free Training Online
Installation of CentOS 7 Step by Step Procedure with Screenshots
Step 1: Download CentOS7
Downloads are available in direct and torrent link from centos.org, choose the link as per the nearest region.Direct Link : http://isoredirect.centos.org/centos/7/isos/x86_64/CentOS-7-x86_64-DVD-1503-01.iso
Torrent Link : http://isoredirect.centos.org/centos/7/isos/x86_64/
If the above link is not working or if you encounter any issues, please leave a reply.
Step 2: Boot using ISO image
Are you going to install the CentOS7 on physical machine or vm machine.If physical machine, Burn the ISO image on DVD and boot the server with media as first bootable device.
If VM machine, copy the ISO image to the Host server, load the ISO Image in Virtual DVD drive and power ON the VM.
Step 3: Start the Installation
Select "Install CentOS7" and hit "Enter"Step 4: Language Selection
This box appears to select the language you like to use during the installation. Select "English" --> English (United States) and Click "Continue".Step 5: Installation Summary
This box appears to show you the current installation summary. select the appropriate types and choose the option to fit our requirement as described in the below steps. We should fix all the warnings shows in the installation summary.Step 6: Date & Time under Localization
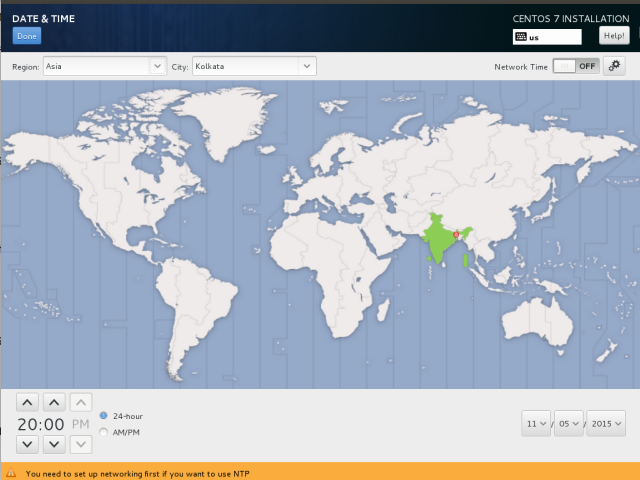
Choose Date & Time, Select Region as "Asia", Select City as "Kolkata" and click "Done" available at the left-top corner.Step 7: Installation Destination under System
Warning shows as "automatic partitioning selected", Choose "Installation Destination" and click "Done".Step 8: Network & Hostname
Choose Network & Hostname, Enter the new hostname as "server.learnitguide.net" in the text box and click done.
Step 9: Begin the Installation
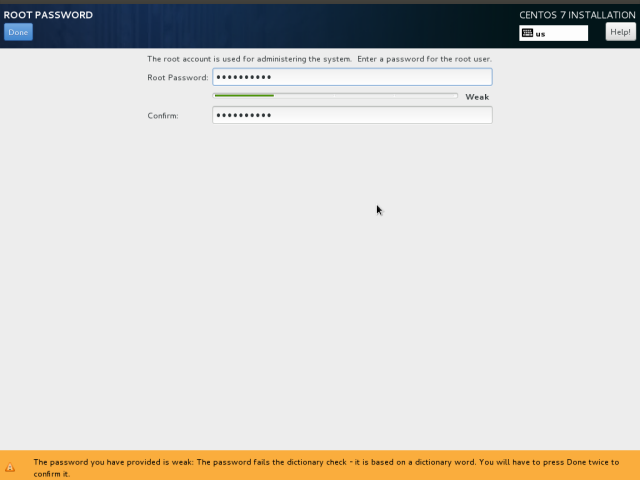
Once everything is done, click "Begin Installation".Step 10: Change Root Password
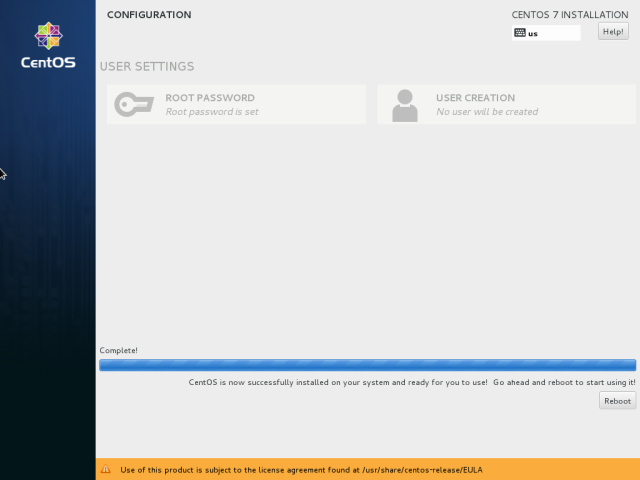
Once the Installation started and shows in the progress bar.Thats all, Installation of the CentOS7 is completed.
Related Content on Linux might be useful to you to improve your Linux Skills.


0 Comments